A sturdy workbench is the single most useful thing in a woodworking shop — more useful than any single tool. A flat, rigid bench lets you plane, chop mortises, cut dovetails, and assemble cases without fighting the surface. This guide describes a simple four-leg bench built from construction-grade SPF (Spruce-Pine-Fir) lumber available at any Canadian building supply store.
The design here was refined for a 10-by-12-foot garage shop in Ontario. It uses no biscuits, no dowels, and no pocket screws — the joinery is mortise-and-tenon throughout, cut with a mallet and two bench chisels. The finished bench is approximately 8 feet long, 24 inches deep, and 34 inches tall — a good height for hand-tool work for someone between 5'8" and 6'2".
Materials and cut list
All lumber is nominal 2×6 and 4×4 SPF, available kiln-dried at most Canadian Tire, Home Depot, or local lumber yard locations. Allow the boards to acclimatise in your shop for at least five days before working them — SPF from a warm store can lose significant moisture in a cold garage, causing measurable movement.
- Benchtop: Six pieces of 2×6, 96 inches long (the full 8-foot top is glued and flattened)
- Legs: Four pieces of 4×4, 33 inches long (giving a finished height of ~34 inches with the top)
- Stretchers (long): Two pieces of 2×6, 90 inches long
- Stretchers (short): Four pieces of 2×6, 20 inches long
- Shelf boards: Four pieces of 2×8, 90 inches long (optional lower shelf)
- Hardware: 3-inch construction screws (box of 100), wood glue (Titebond II or equivalent), four 3/8-inch lag bolts 3 inches long
Note on lumber moisture: SPF in Canadian hardware stores typically runs 15–19% moisture content. For a glued-up benchtop, target 8–12%. If you have a moisture meter, check boards before gluing. Tops glued at high MC will crack as the wood dries.
Step 1 — Mill the benchtop boards
Even without a power jointer or planer, you can flatten 2×6s adequately with a No. 5 bench plane. Start by reading each board for cup and bow. Heavily cupped boards should be ripped in half on a table saw and re-joined flat — the narrower strips are far easier to flatten by hand.
Joint the mating edges of each pair of boards with a No. 7 jointer plane or a long straightedge and hand plane. The goal is a gap-free joint when two boards are held face to face and a light is passed behind them. A small rocking motion on the plane corrects for a hump at centre.
Step 2 — Glue up the benchtop
Lay the six 2×6s on a flat surface and mark biscuit or dowel locations if you want alignment help — these are optional since the top will be flattened anyway. Apply Titebond II to both mating faces, spread with a disposable brush, and clamp at 8-inch intervals. Use cauls (straight scrap boards) across the top surface to prevent bowing during clamp-up.
Allow the glue to cure for a minimum of eight hours before removing clamps in a Canadian garage — cold temperatures slow Titebond's cure significantly. At 10°C, add four hours to the manufacturer's recommended cure time.
Step 3 — Build the base
The base consists of two end assemblies, each with two 4×4 legs connected by a pair of 2×6 short stretchers. The short stretchers are tenoned into the legs with a 1-inch wide, 2-inch deep mortise — sized for a 2×6 tenon shoulder-to-shoulder.
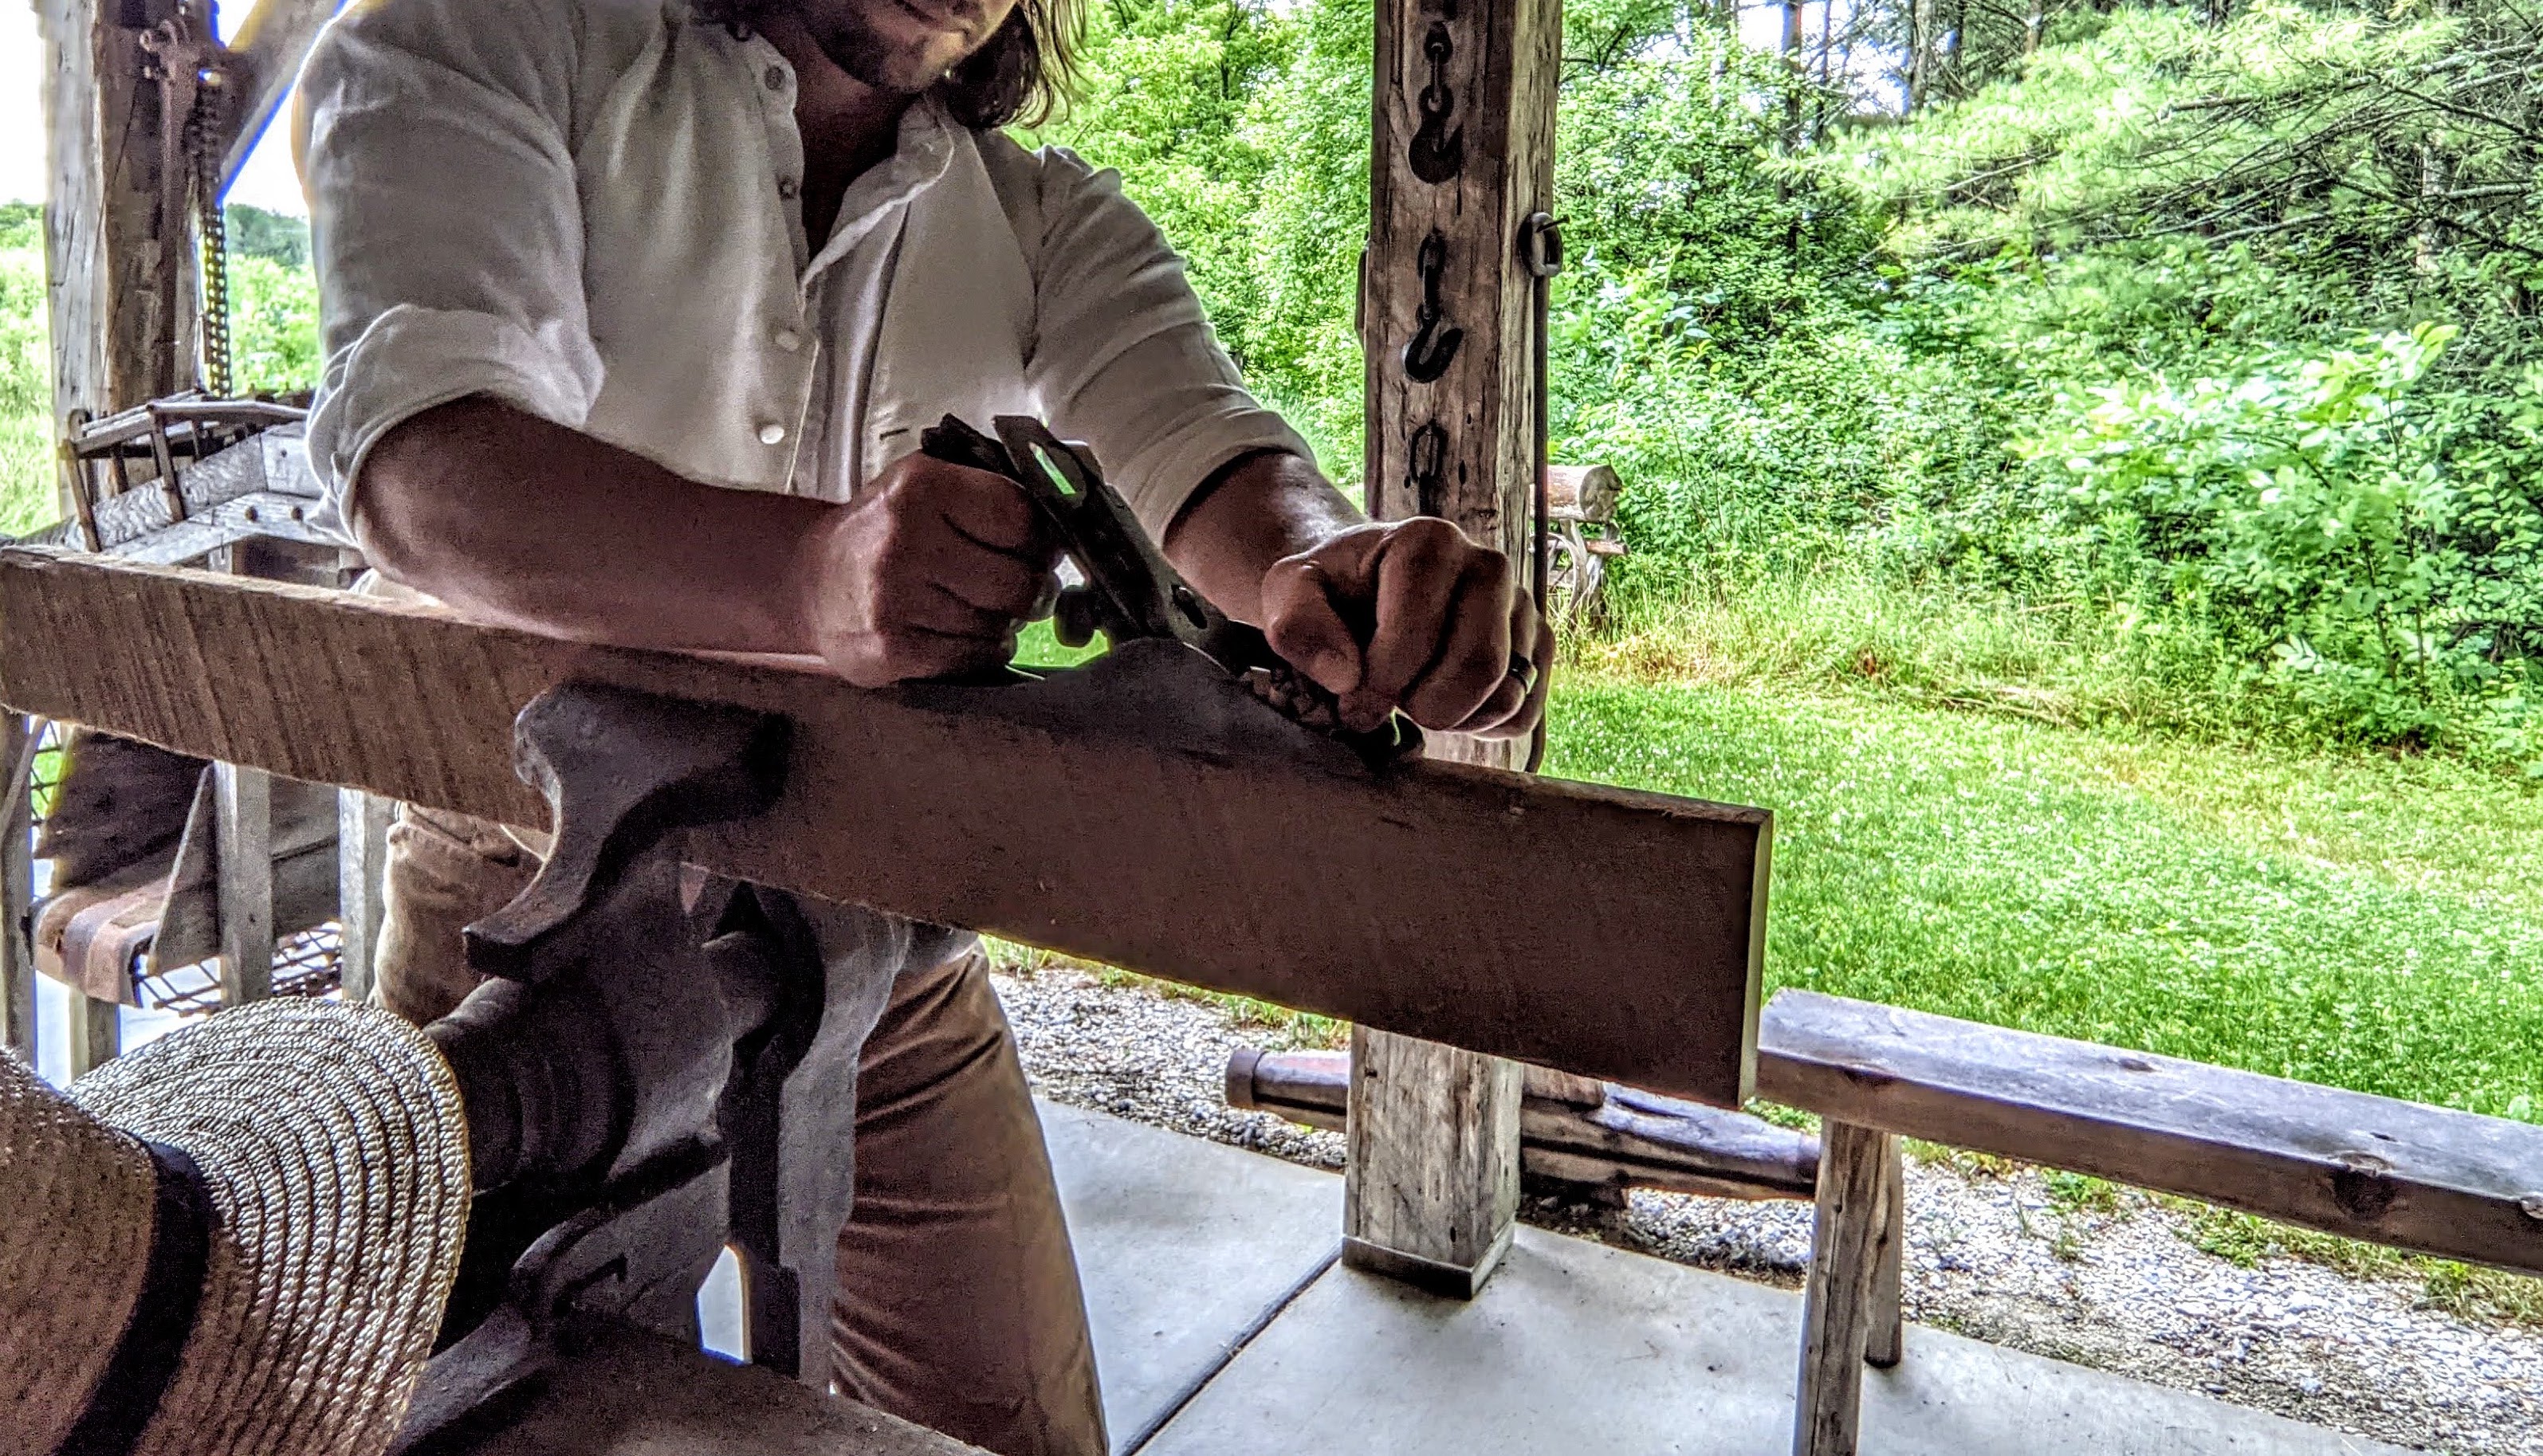
Lay out the mortises with a marking gauge and a square. Drill a series of overlapping 1-inch holes with a brace and bit or a drill press, then chop the walls clean with a 1-inch bench chisel. The goal is a flat-bottomed, square-walled mortise that the tenon enters with hand pressure — not a mallet tap.
Step 4 — Cut the tenons
Tenons on the short stretchers are sawn with a tenon saw to the baseline, then the waste cheeks are pared with a 1-inch chisel. Fit each tenon to its mortise individually — label them so they don't get swapped. A well-fitted tenon should require light mallet pressure to seat fully.
Canadian winter tip: If you're assembling in a cold shop, warm the glue bottle to room temperature before use. Titebond II becomes thick and difficult to spread below 8°C, and the open time drops substantially.
Step 5 — Assemble the base
Glue both end assemblies first. Check for square by measuring diagonals — they should be within 1/16 inch. Clamp overnight. Once the end assemblies are cured, connect them with the two long 2×6 stretchers. These are bolted, not glued, which allows the base to be disassembled if the bench needs to be moved.
Use 3/8-inch lag bolts through pre-bored holes in the long stretchers and into the legs. Countersink the bolt heads flush. Tighten firmly — the long stretchers carry the racking load when you're planing across the grain.
Step 6 — Attach the top and flatten
Set the glued-up top onto the base and attach it with figure-8 fasteners or Z-clips to allow seasonal movement — do not screw through the top directly into the base, as wood movement will cause the top to crack or buckle over time.
Flatten the top with a No. 5 plane set to a medium cut, working diagonally across the grain first. Switch to a No. 7 for the final pass along the grain. Check flatness with a winding sticks (two parallel sticks placed at each end — they reveal twist) and a long straightedge. A finished top should be flat within 1/32 inch over its full length.
Step 7 — Finish the surface
Leave the benchtop unfinished or apply one coat of boiled linseed oil (BLO) thinned 1:1 with mineral spirits. The BLO hardens the surface and reduces glue adhesion, making it easier to pop dried squeeze-out. Do not use polyurethane — it creates a slippery surface that tools slide across and is difficult to re-flatten once the top gets hollowed with use.
Vise options for Canadian shops
A leg vise is the traditional choice for hand-tool benches — it grips wide panels and boards without racking. Lee Valley Tools in Ottawa and Vancouver carries the Veritas quick-release leg vise, which is a Canadian-designed option worth considering. A tail vise (or wagon vise) along the right end allows dogs to grip boards for face planing.
If budget is a concern, a simple Moxon vise made from two pieces of 8/4 maple and a pair of 3/4-inch threaded rods costs less than $40 in materials and can be clamped to the benchtop when needed.
Final notes
This bench design has been built successfully in garage shops from Victoria to Moncton. The SPF top will move slightly with the seasons — expect up to 1/4 inch of movement across the width during a full Canadian seasonal cycle. This is normal and manageable with the figure-8 fasteners described above. After the first winter, re-flatten the top with a No. 5 and the surface will settle into a stable working state.
For more on the tools used to build this bench, see the hand tools guide. For lumber selection, the Canadian wood species article covers SPF alongside hardwood alternatives.